[title subtitle=”diy: Catherine Frederick | image: Jeromy Price”][/title]
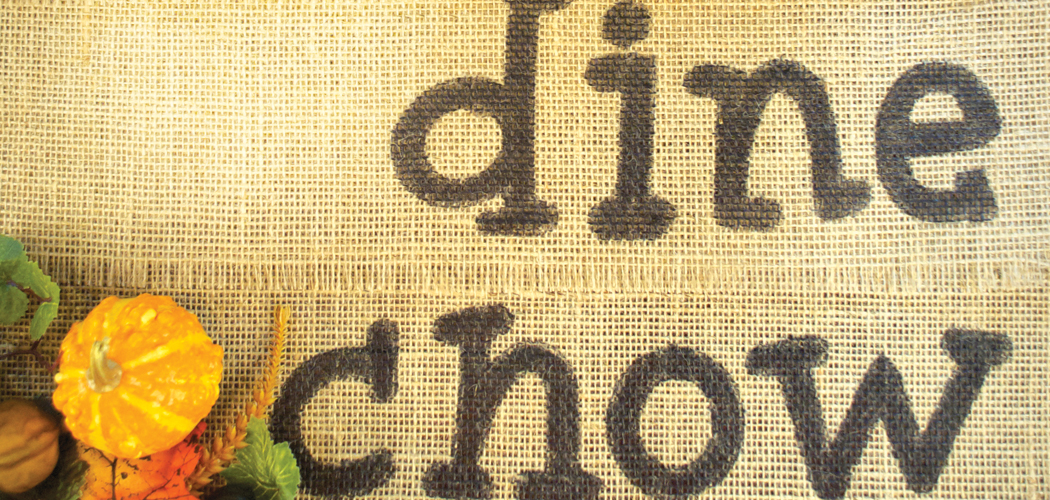
I love the rustic look and feel of burlap. These placemats can be easily personalized for any occasion and are a cinch to make.
- Burlap
- (2 yards will make six 14” X 20” mats, with extra for potential mistakes)
- Chipboard letters
- Magnum Black Sharpie®
- Fine Point Sharpie®
- Scissors
- Dritz® Fray-Check
- Measure and mark a 15” X 21” rectangle on the burlap. The extra inch is to allow for the fraying on the edges. Cut out the shape and repeat for the number of placemats you need.
- Starting at one corner, pull one string of burlap away from the mat to fray the edge. Continue to pull single strands until the desired amount of fray is reached. I pulled 5-6 strands from each edge.
- Make a list of words you want to spell on each mat. I chose words such as Eat, Chow, Dine. But you may prefer the names of your family, or words such as Thanks, Grace, Love.
- Place several sheets of newspaper or card stock under each mat so the Sharpie® will not bleed through to your table. Place the chipboard letters on the burlap in the location of your choice. Using a fine point Sharpie®, trace around each letter.
- Using the Magnum Sharpie®, fill in
- each letter.
- Line the inner edges with Fray-Check to keep the mat from fraying any further.


