[title subtitle=”words and images: Janna Wilson”][/title]
Cozy wool sweaters have value beyond their season of fashion and style. Rather than tossing sweaters that have a hole, pilling, or just aren’t on trend – think of the possibilities to refashion and repurpose a quality wool piece. Perhaps you’ve accidentally laundered your favorite sweater and it’s shunk up to toddler size – perfect! You’ve already completed step one of the refashion process! You can also purchase sweaters secondhand for a fraction of the cost. One sweater can be upcycled into many different practical and fashionable accessories. I’ve used a lady’s and a gentleman’s sweater to create our five projects.
Tools you’ll need:
- Sharp fabric scissors
- Sewing machine/matching thread
- Basic sewing notions
- Marking pen
- Measuring tape/ruler
- Hot glue gun
- Pattern pieces -Download here: SweaterWeather-patterns
The Felting Process = Heat + Moisture + Friction
If you’ve ever laundered a wool sweater and it shrunk to half its size, you’ve “felted” wool. Wool felt is relatively expensive and felting sweaters is a great way to create your own. The cool thing is that you can cut felt without raveling. Different blends will produce different results. For the best felted wool, choose a garment that is at least eighty percent wool. The tighter the weave the less stretch after felting. Felting sweaters is basically washing in hot, a cold rinse, and drying on hot. Check after each step to see how much the knit has shrunk/felted. You can repeat this process until you get the desired results.
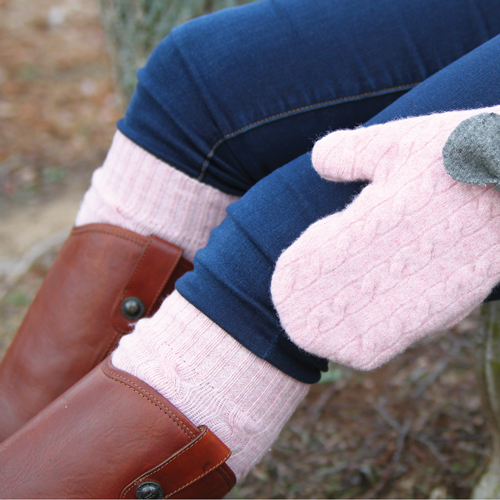
Boot cuffs
Make boot cuffs in ONE easy step…okay, two. (no felting required)
- Cut the sleeves off the sweater.
- Optional but not necessary: Hem the raw edge with sewing machine.

Hat
- Lay sweater flat and trace pattern onto upper/chest.
- Cut two pattern pieces and pin RIGHT SIDES together.
- Stitch around hat taking a 1/4 inch seam.
- Hem raw edge (optional).
- Turn RIGHT SIDE OUT; press seams.

Coffee Cozy
I love plastic reusable coffee cups to take on the go, but unfortunately they don’t come with sleeves. To make your own, just wrap a felt rectangle around the cup snugly–; overlap an inch (3.5″ x 12″). Mark where buttons should be and tack in place with a dab of hot glue. Stitch to secure (optional) and sew or glue on buttons.
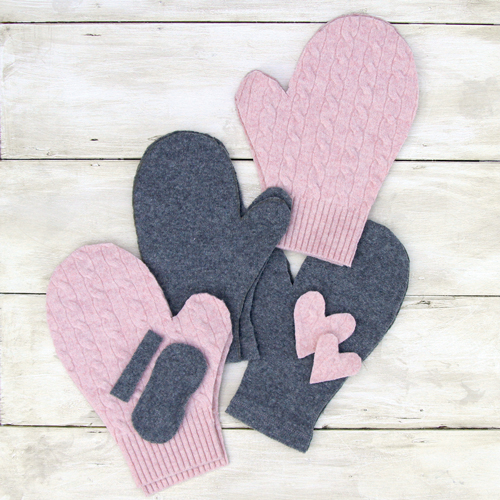
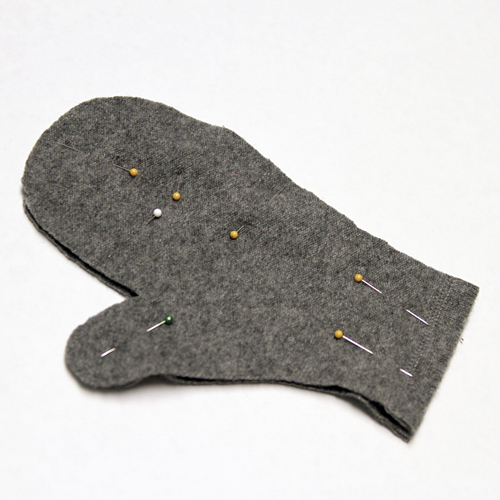
Mittens
- Lay sweater flat and trace pattern onto lower edge (see sweater diagram).
- Cut through the two layers of fabric TWICE to produce four pieces of the traced pattern.
- If your felt has a RIGHT side, place two of the pattern pieces RIGHT SIDE TOGETHER. Pin.
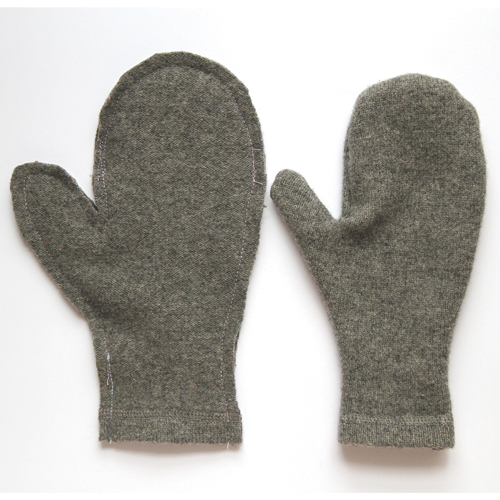
- Sew around the shape taking a 1/4 inch seam— BACKSTITCH at the beginning/end.
- Turn the mittens RIGHT SIDE OUT; press seams flat with iron.
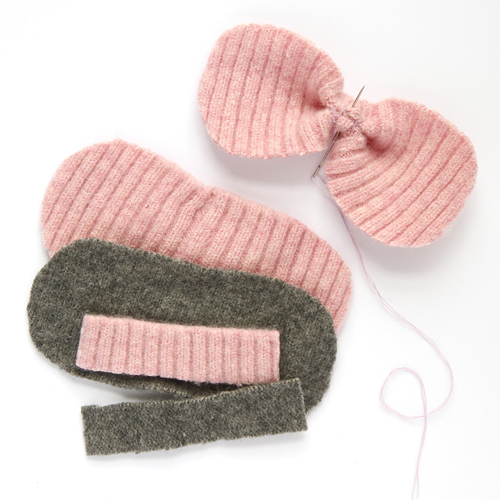
Bow
- Trace the pattern and cut out the two pieces.
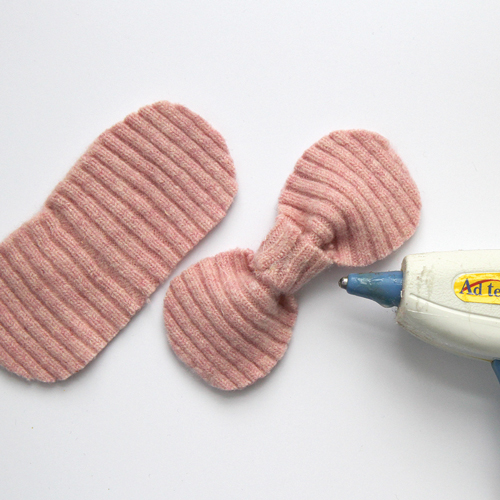
- Pinch the center of the large piece and stitch the middle to create the pleat/pucker of the bow.
- Hot glue the band around the center.
- Embellish mittens or hats or make hair accessories with these adorable bows.
Janna Wilson is a long-time crafter, graphic designer and teaches calligraphy workshops locally. Find more inspiration on her blog at JannaWilson.com.