[title subtitle=”words and images: Janna Wilson”][/title]
Between the growing list of birthdays, occasions and events I have to remember and my lapsing memory these days, I decided to create a book to keep all of those significant dates close at hand. I also wanted each page to be a pocket to keep greetings, notecards and even gift cards stowed until it’s time to drop them in the mail or hand them off. It’s fun adding a little flair to customize this book of celebrations and milestones. This easy book-binding style and numbered list pages can be used for numerous projects, including a daily gratitude journal or even an expense tracker. Just use the list to jot down expenses and stow the receipts in the pockets. The printable files make it a snap to put together. You could whip this project out in one crafty afternoon. Just visit dosouthmagazine.com to download the files and spend an hour or two crafting in the name of organization this new year!
SUPPLIES NEEDED:
Chipboard or book board
(2 pieces: 7” x 11”)
Patterned papers (2 for the covers and 1 for the inside cover)
3 loose leaf rings (1-2” diameter)
13 sheets white cardstock
(8 ½” x 11”)
12 sheets black (or coordinating color) cardstock (8 ½” x 11”)
2” circle or oval punch
Hole punch (¼”)
Corner punch
Adhesives (glue sticks and/or
tape runner)
Embellishments (stickers, washi, ribbon, etc.)
6 large eyelets (optional)
Sewing machine and thread (optional)
PRINT & PREP PAGES
• Print 12 of the numbered lists onto white cardstock. Trim along gray cutting lines. The finished size should be 5 ½ ” x 10 ¾”.
NOTE: If you want to create your own design, just create a numbered list according to how many days are in each month and draw a line to the right of that. A hand-drawn list or labels will work just fine for this project.
• Print one of the 2016 At a Glance calendar pages on white cardstock. The finished size should be 5 ½” x 10 ¾”.
• Cut 12 sheets of black cardstock to 6 ½“ x 10 ¾”.
POCKET PAGES
Create a half-circle or oval notch in the vertical center of the right edge of each list/monthly page by punching with a circle or oval punch.
Run a fine line of glue around the top, left, and bottom edges (NOT the notched edge side) on the back of the list pages and adhere each to one of the 12 pieces of cut black cardstock.
TIP: You can reinforce these pockets by machine stitching around the three sides of the page if desired.
Assemble pages and set aside.
BOOK COVERS
Trim two pieces of patterned paper to 10” x 12” and glue the chipboard piece centered on the BACK side of the paper.
Create great-looking finished corners by following the illustrations in photos at right. Clip the paper at an angle, just to the corners of the chipboard. Repeat these steps for all the corners.
Apply glue to the flaps created by cutting the corner notches. Fold flaps to backside of covers.
Choose papers to add to the inside of the covers. Trim these to 6” x 10 ½” and glue to the inside of each cover.
BINDING THE BOOK
Use the handy printable guide for punching holes to bind the book, or, mark as follows: (for center hole) measure to the vertical center point (5 ½” from top/bottom) on the LEFT edge of the cover; mark center hole ¼” from edge.
Top and bottom holes are 1 ½” from top and bottom edges and ¼” from LEFT edge of cover.
Next, mark the holes on each page that will go in the book. Punch the holes with a ¼” hole punch and assemble the pages together with the covers.
TIP: If you are using book board or thick chipboard, I recommend the Crop-a-Dile for punching through the thickness of chipboard with ease.
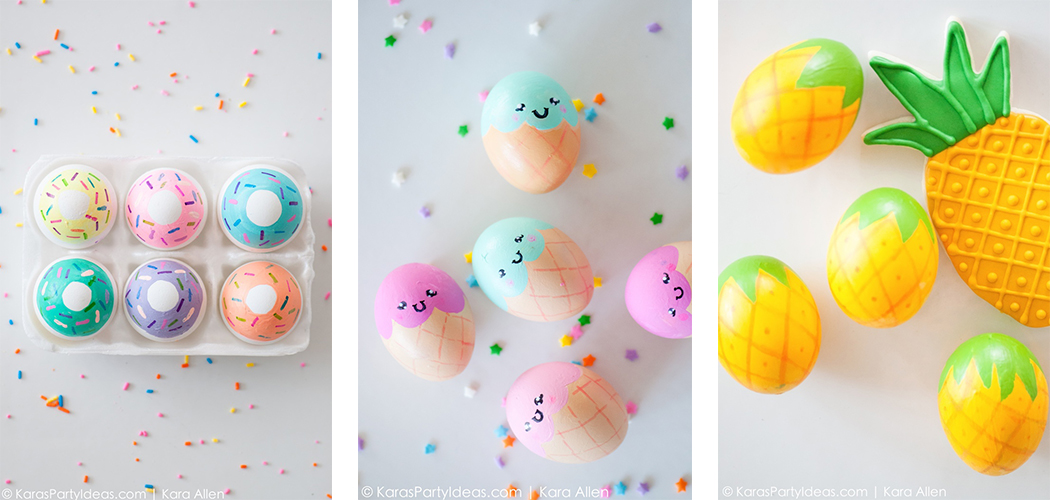
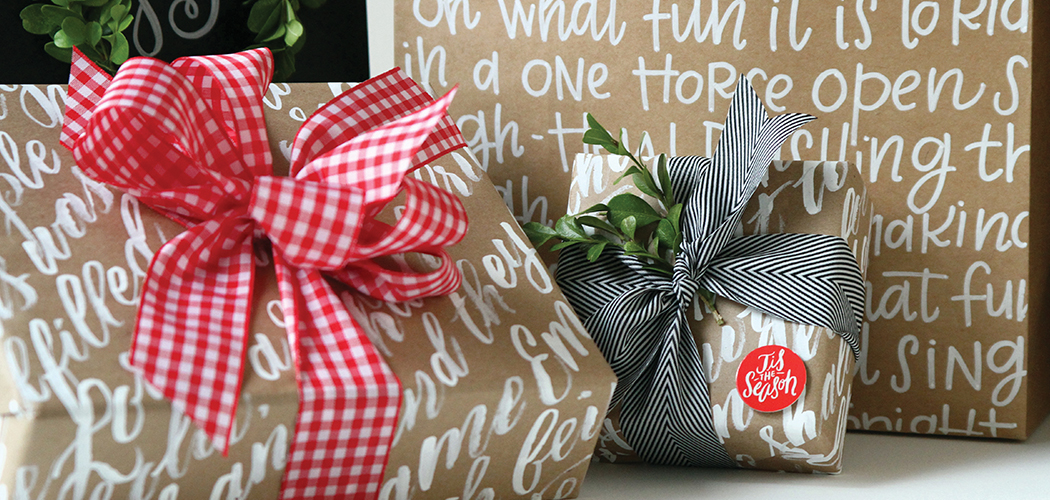
Be sure to get creative with patterned paper, stickers and embellishments to add some fun and flair to this project. I’ve lined paper strips to the inside edge of my list pages and added patterns and quotes to the back sides as well.
Janna Wilson is a graphic designer, lettering artist and long-time crafter. Visit Janna’s blog at jannawilson.com for more crafty projects and creative ideas.